- Why is proper grout important for shower tile?
- How should you prepare shower tile before grouting?
- What type of grout is best for shower tile?
- What are the steps to grout shower tile correctly?
- When should you hire professionals to grout shower tile?
Grouting shower tile is one of the most important steps in any bathroom renovation. While tiles provide the visual appeal, grout is what seals the surface, protects against moisture, and ensures durability over time. Poorly applied grout can lead to water damage, mold growth, and loose tiles, while properly done grout keeps your shower looking clean and functioning properly for years.
Whether you’re tackling a DIY bathroom project or considering professional help, understanding how to grout shower tile will help you make informed decisions. Below, we break down the process, materials, common mistakes, and when it’s best to call experienced tile installers near me for professional shower tile installation.
Preparing the Shower Tile Surface Before Grouting
Before you even open a bag of grout, preparation is key. Grouting over improperly prepared tile can compromise the entire shower installation. First, ensure that all tiles are fully set and that the thin-set mortar has cured—this typically takes at least 24 hours.
Next, clean the tile surface thoroughly. Remove dust, adhesive residue, spacers, and debris from the tile joints using a vacuum or soft brush. Any leftover material in the grout lines can weaken adhesion and cause cracking later.
It’s also important to inspect the spacing between tiles. Uniform grout joints allow for even application and a professional appearance. If the joints vary significantly, grout can dry unevenly and affect water resistance. Proper prep lays the foundation for a successful and long-lasting shower tile installation.
Choosing the Right Grout for Shower Tile
Not all grout is created equal, especially when it comes to showers. Because showers are exposed to constant moisture, selecting the correct grout type is essential.
Cement-based grout is the most common option and comes in sanded and unsanded varieties. Sanded grout is best for wider joints (typically over 1/8 inch), while unsanded grout works better for narrow joints and delicate tiles. However, cement grout requires sealing to prevent water absorption.
Epoxy grout is a more durable, waterproof option that resists stains and mold without sealing. While it costs more and is more difficult to apply, it’s an excellent choice for showers due to its longevity.
When in doubt, consulting professionals like Kris Tile Service Denver can help you choose the right grout for your tile type, joint width, and bathroom conditions.
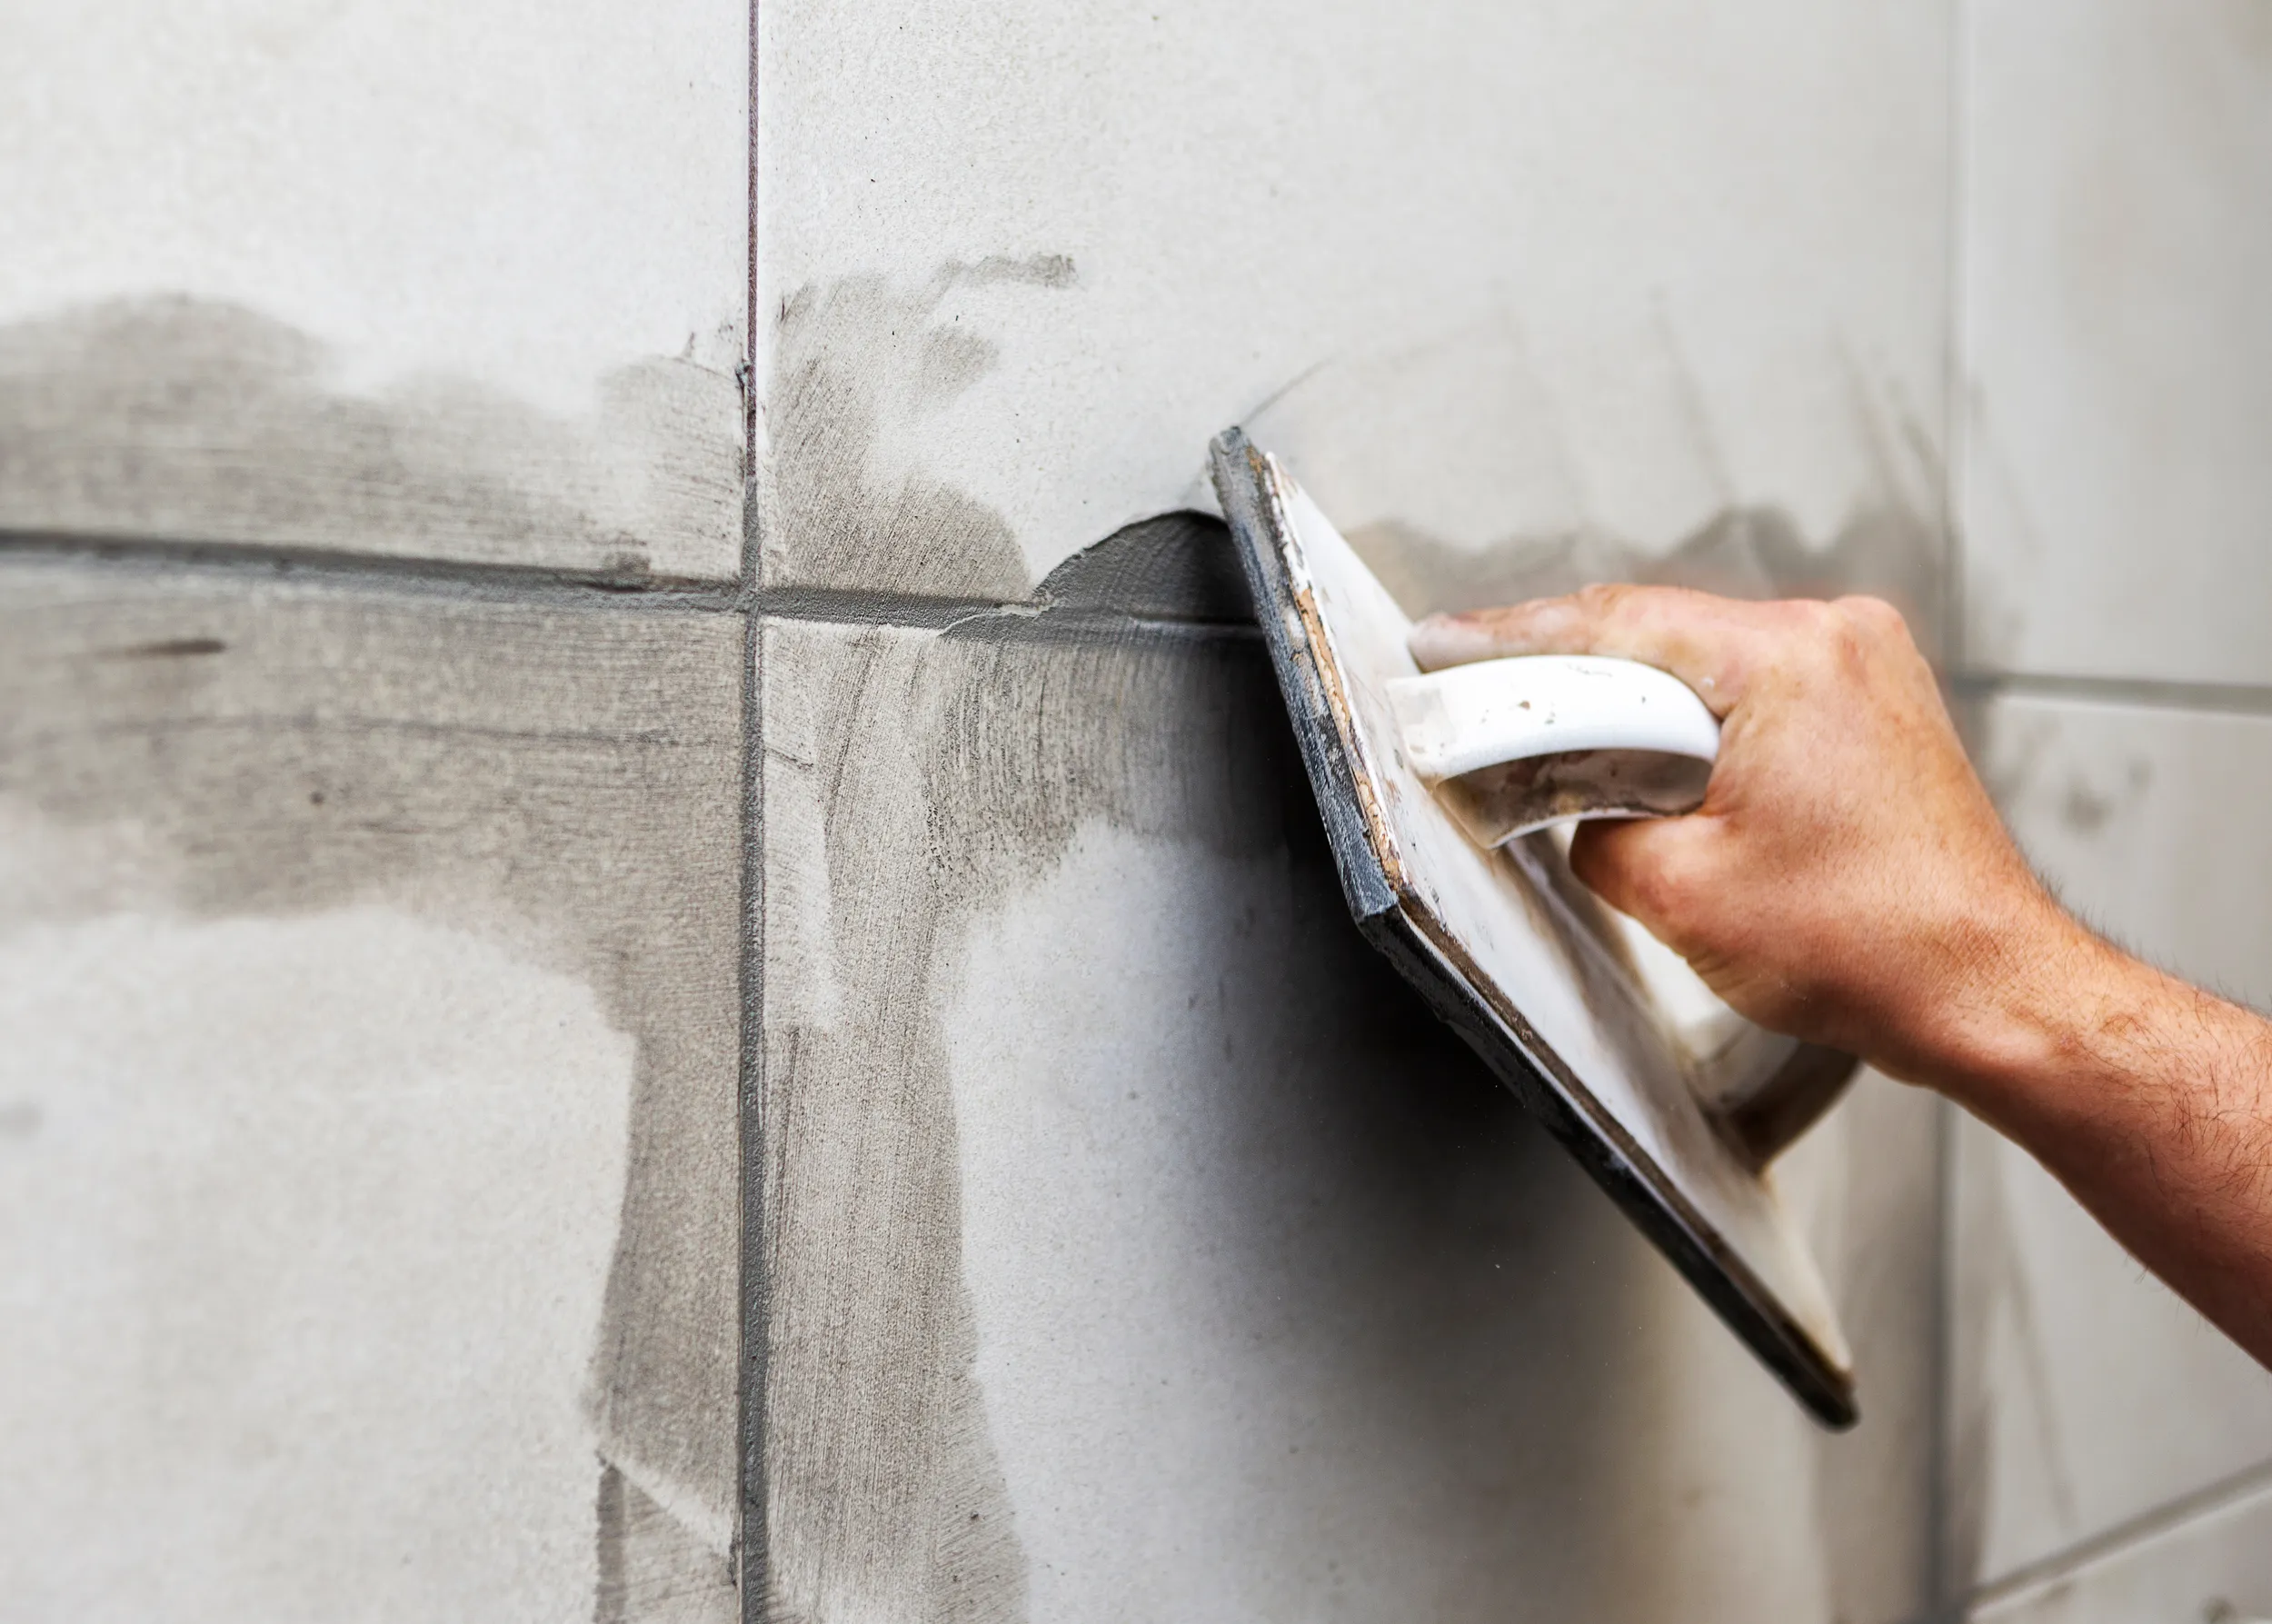
Step-by-Step Process: How to Grout Shower Tile Correctly
Once your surface is prepared and grout selected, it’s time to begin grouting. Start by mixing the grout according to manufacturer instructions. The consistency should be thick but spreadable—similar to peanut butter.
Using a rubber grout float, apply the grout diagonally across the tiles, pressing it firmly into the joints. Working diagonally prevents the float from pulling grout out of the seams. Cover a small section at a time to prevent the grout from drying too quickly.
After about 10–20 minutes, wipe off excess grout using a damp sponge. Rinse the sponge frequently and avoid pressing too hard, which could pull grout from the joints. Once the grout haze appears, polish the tiles gently with a dry cloth.
Allow the grout to cure fully, usually 24–72 hours, before exposing the shower to water. For cement-based grout, sealing is the final step and helps protect against moisture and staining.
Common Grouting Mistakes to Avoid in Showers
Many homeowners underestimate how easy it is to make mistakes during the grouting process. One common issue is adding too much water to the grout mix, which weakens it and increases cracking. Another is failing to clean grout haze promptly, resulting in dull, cloudy tiles.
Skipping grout sealing is another costly mistake, especially in showers. Without proper sealing, water can penetrate grout lines, leading to mold growth and damage behind the tiles.
Improper spacing, rushed curing times, and inconsistent grout application can also shorten the lifespan of your shower. These issues are why many homeowners choose tile installers near me who specialize in professional shower tile installation to avoid costly rework.
When to Hire Professionals for Shower Tile Grouting
While grouting may appear simple, shower environments require precision and experience. Professional tile installers understand proper grout selection, moisture management, and long-term durability. Hiring experts ensures that grout lines are uniform, sealed correctly, and built to withstand daily use.
Companies like Kris Tile Service Denver bring expertise, specialized tools, and proven techniques that result in a polished, long-lasting finish. Professionals can also identify potential issues—such as poor drainage or subfloor problems—before they become serious.
If you want a shower that looks great and performs well for years, professional shower tile installation and grouting is often the smartest investment.
Final Thoughts
Learning how to grout shower tile is essential for anyone considering a bathroom renovation. From surface preparation to grout selection and application, each step plays a critical role in protecting your shower from moisture and wear.
While DIY grouting can work for small projects, showers demand precision. Working with experienced tile installers near me ensures your investment is protected and your bathroom remains beautiful and functional. Whether you’re upgrading a dated shower or completing a full remodel, proper grouting is the finishing touch that makes all the difference.